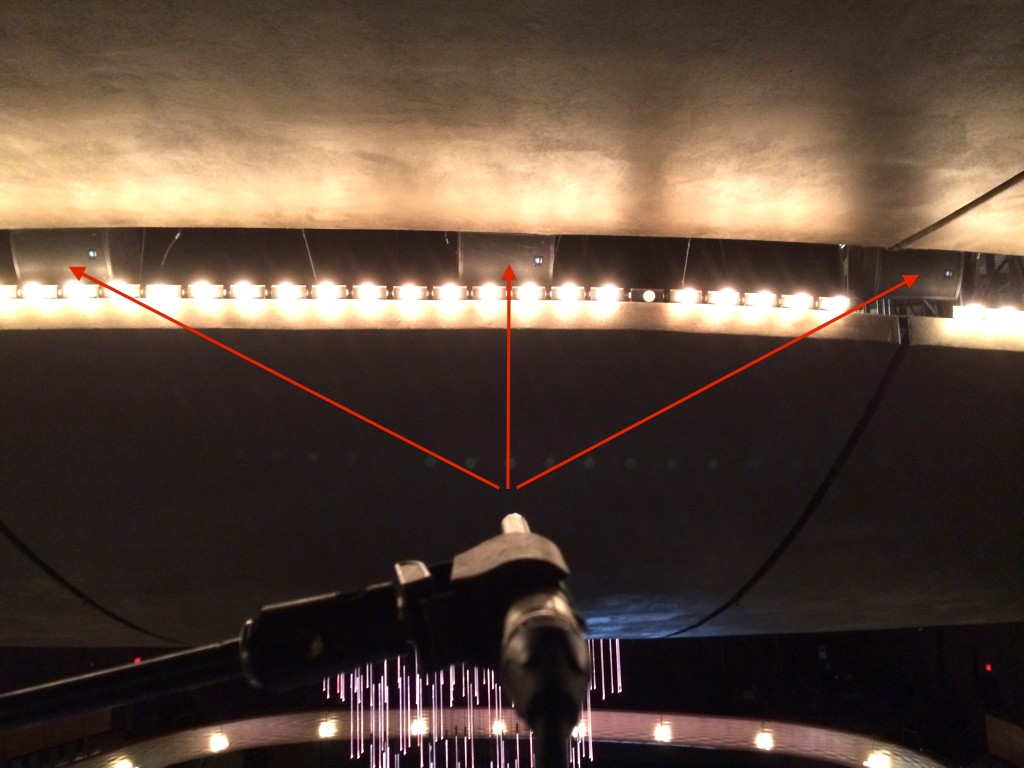
On a large and complicated system, it’s very important to collect as much information about all the various speakers / processing nodes / etc… as possible prior to starting the optimization process. Coming into a system that isn’t right means that you’re gonna run into all sorts of things that are either incorrect or need to be figured out and then addressed.
Here are some things we didn’t know prior to starting the process that should be discovered in advance.
All makes and models of speakers in system.
Complete understanding of how DSP is configured (inputs to outputs)
Manuals for all the devices in the chain so you can reference them for answers when needed
Verify that all the various speakers are working (zone by zone) & if not, know what is wrong
Understand how the signal chain works so you know how every passive speaker is fed from which amp
Understand your signal chain between console, DSP and any self powered speakers
If you have someone come in to tune & optimize your system and you don’t have this knowledge, instead of optimizing your system you’re going to need to gather the information anyway. In some cases, you may not get to the actual work you wanted to do. I would suggest that you spend a few days prior to any tuning / optimization visit by someone gathering every shred of information you can about your system.
So let’s assume that you have done all your homework before the time is set to measure / tune / optimize your PA.
Here is a drawing that Dave Lawler made for the local crew to setup his mics the way he wanted them.
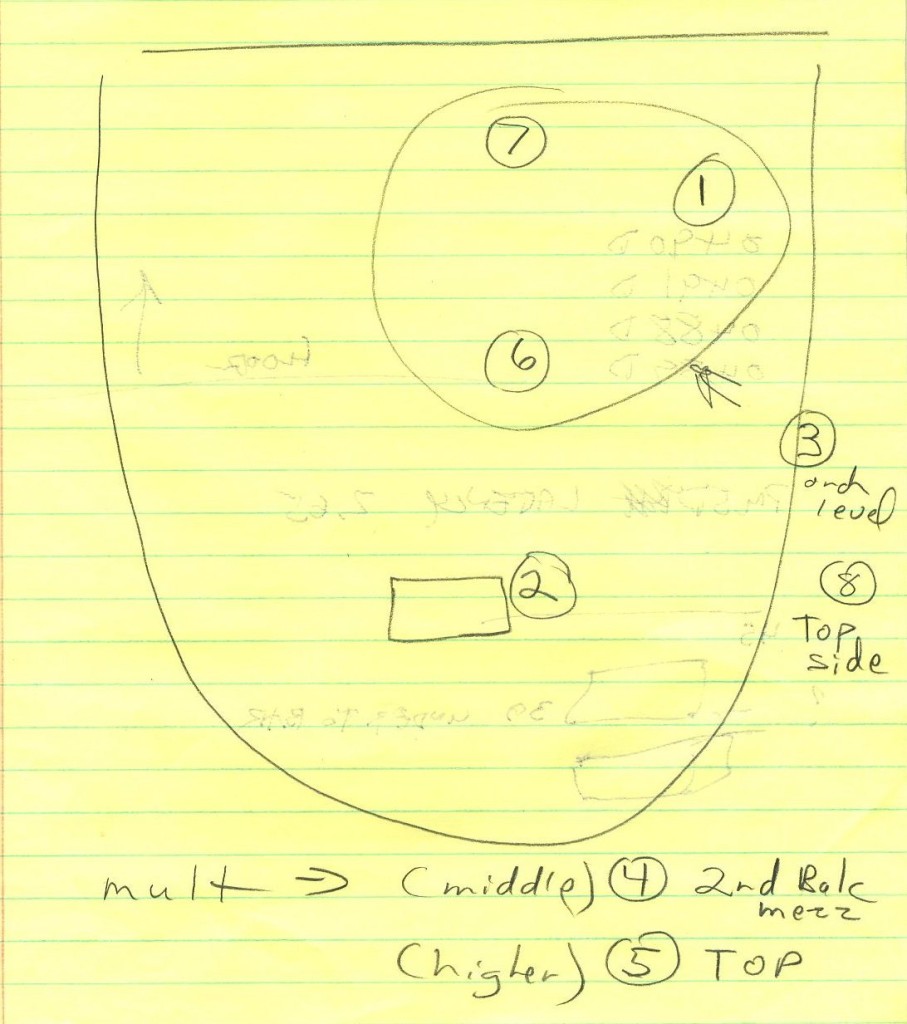
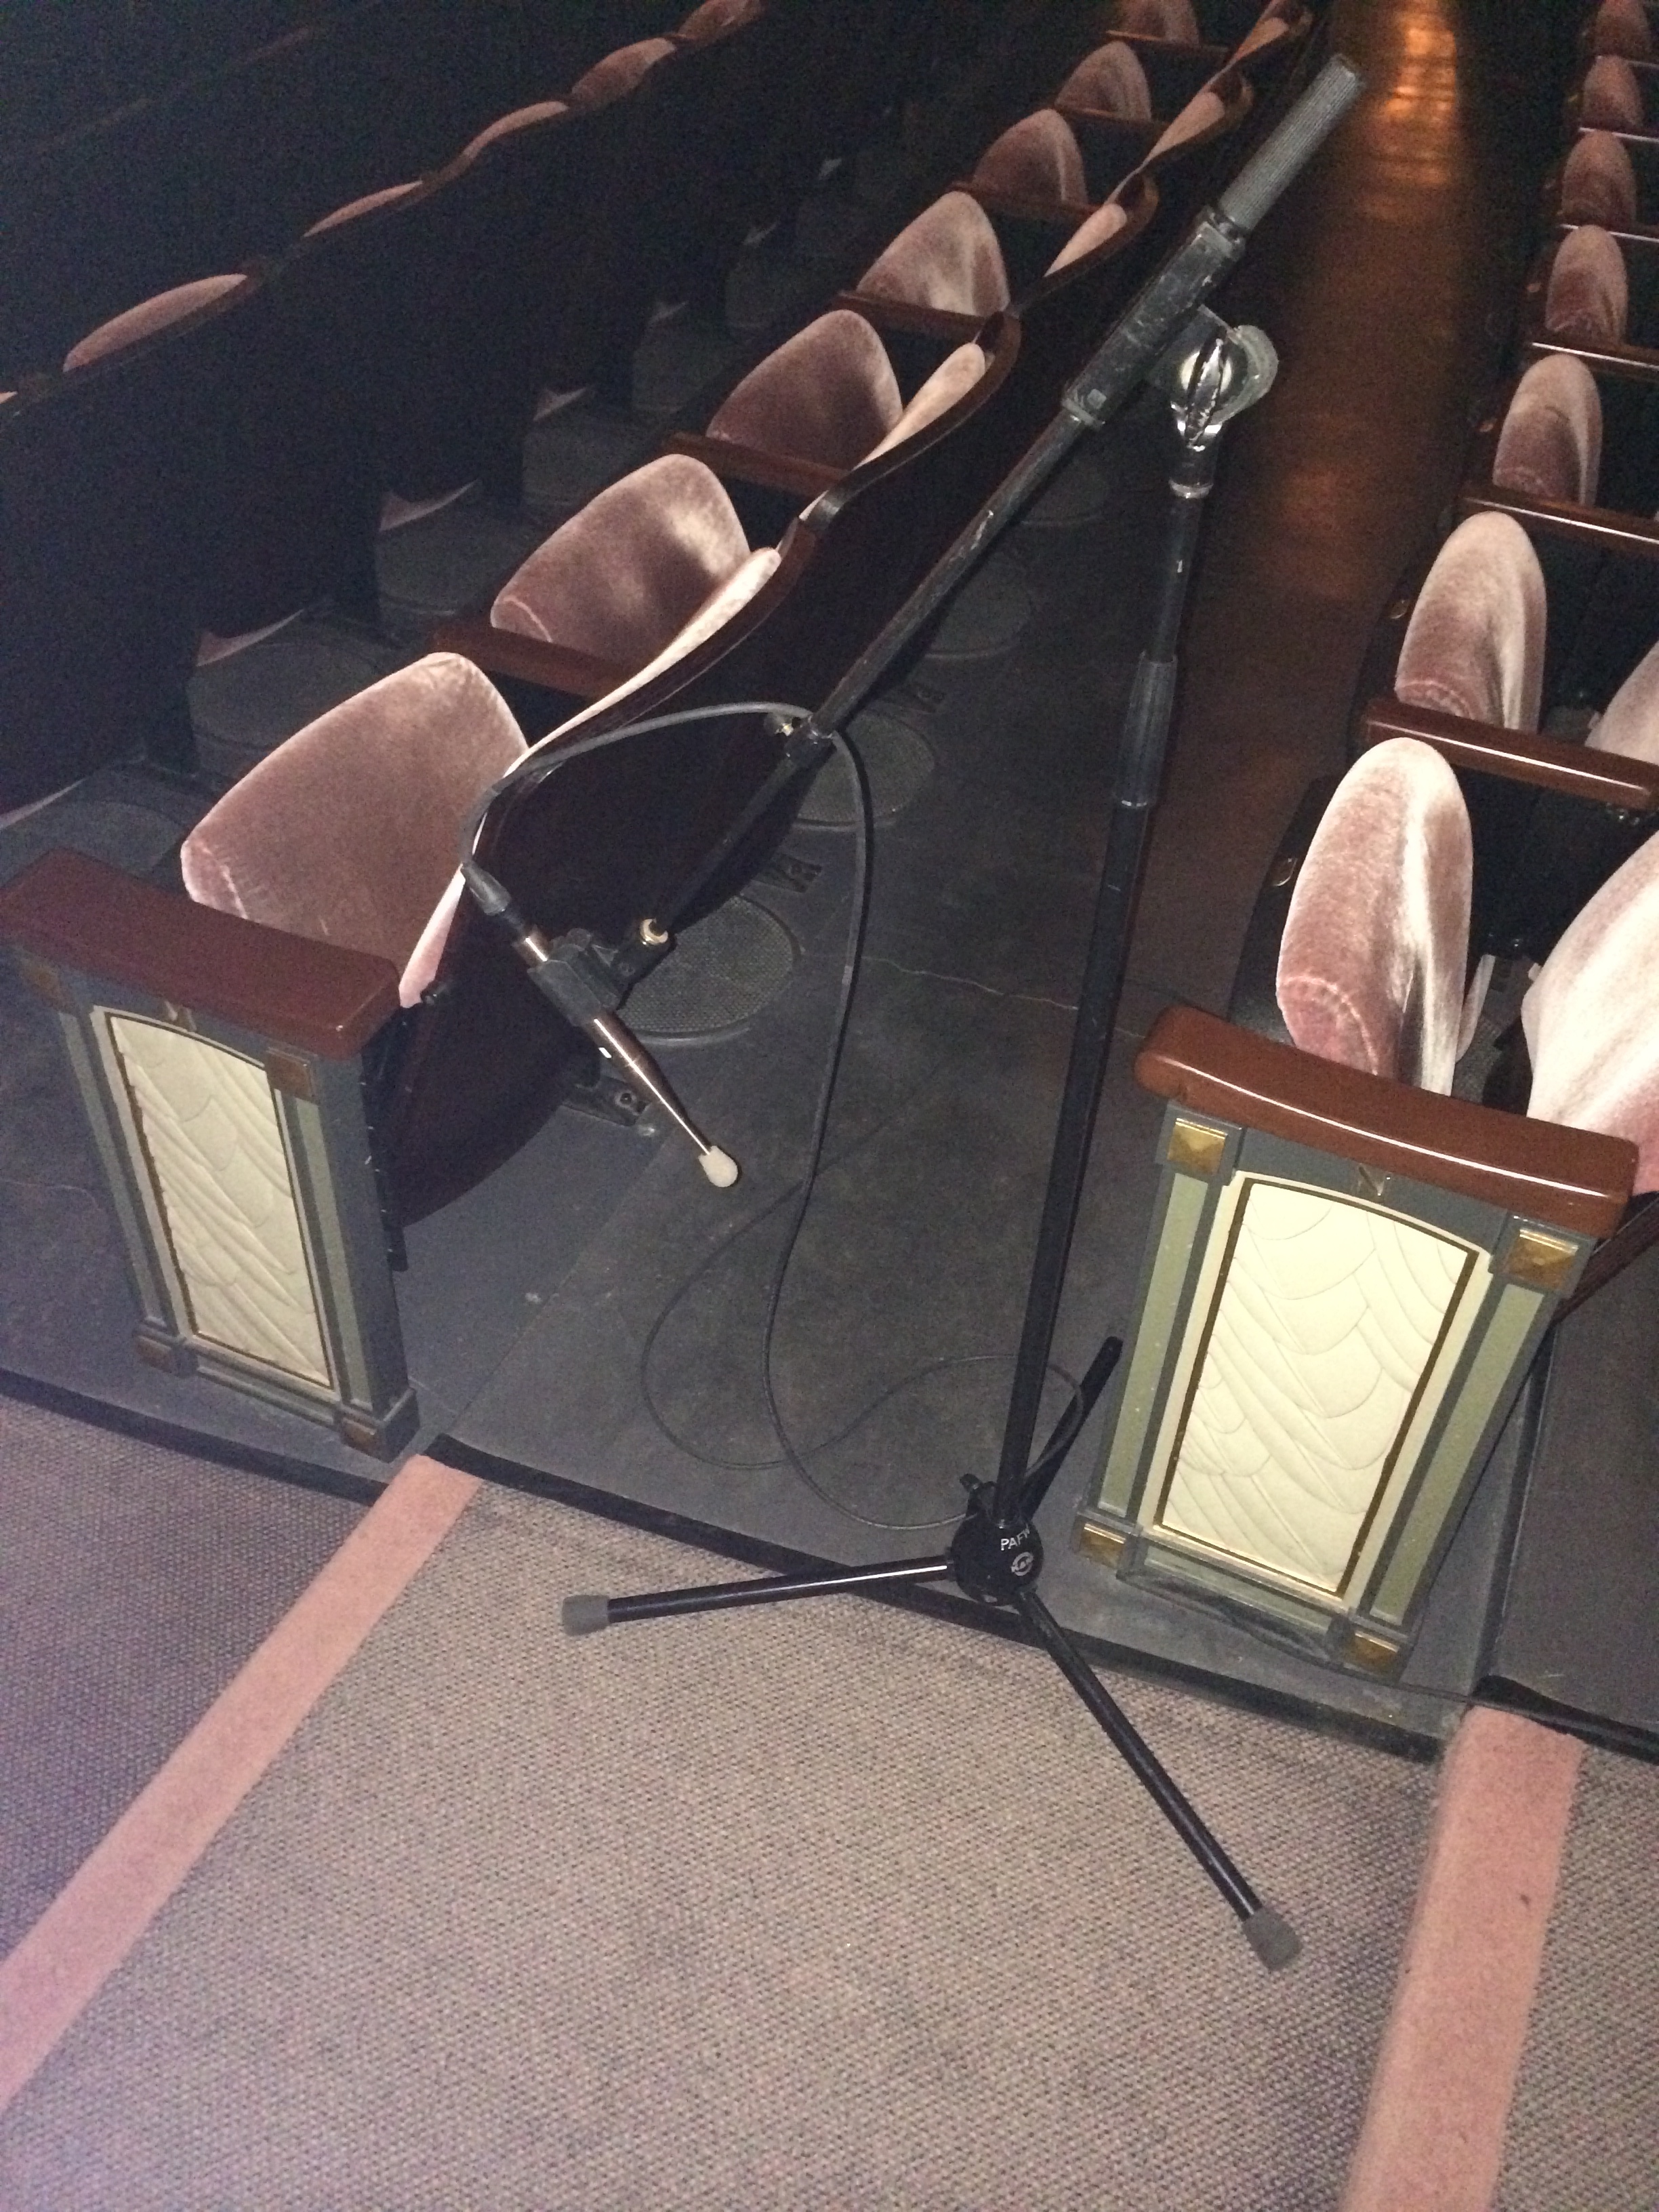
(8) mics are shown. We never got to using all (8) mics because we ran out of time and so many other things needed addressing. Instead we used the (6) Josephson C-555 mics Dave brought with him and moved them around. It’s really important to label the mics and the snakes and cables you use for each mic so that when you need to reference different mic positions you can know with certainty that you’re measuring with the correct mic.
Josephson C550 measurement mics
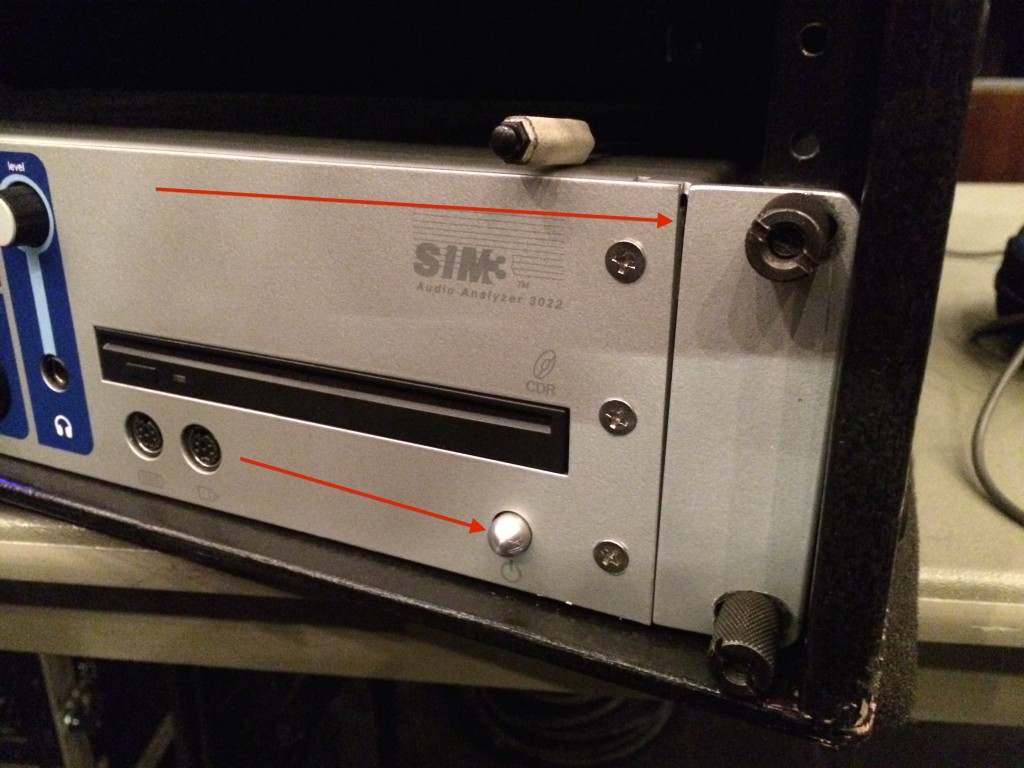
Dave is a Meyer SIM3 user and brought his SIM3 rig. When we opened up the case, the power button was stuck and the rack ear was bent. Obviously the case took a hit at some point between giving it to TSA and getting it back. We had to pry the power button out to get the device to power on and stay on.
So what did we do?
The biggest task was to tackle the house L/R line arrays which weren’t hitting the front rows or the upper balcony. I contacted Renkus Heinz so we could verify the settings in the RHAON software (allows for DSP at each speaker box). In that process we were given the following factory settings for Renkus Heinz VLX3 box.
Along the way of verifying that the settings per box were all set up correctly on the main RH line arrays, Dave discovered that some of the boxes were delayed incorrectly and others weren’t. This isn’t a good thing. Getting a single VLX3 box setup correctly was a task in and of itself but then getting all 24 boxes setup correctly was another task.
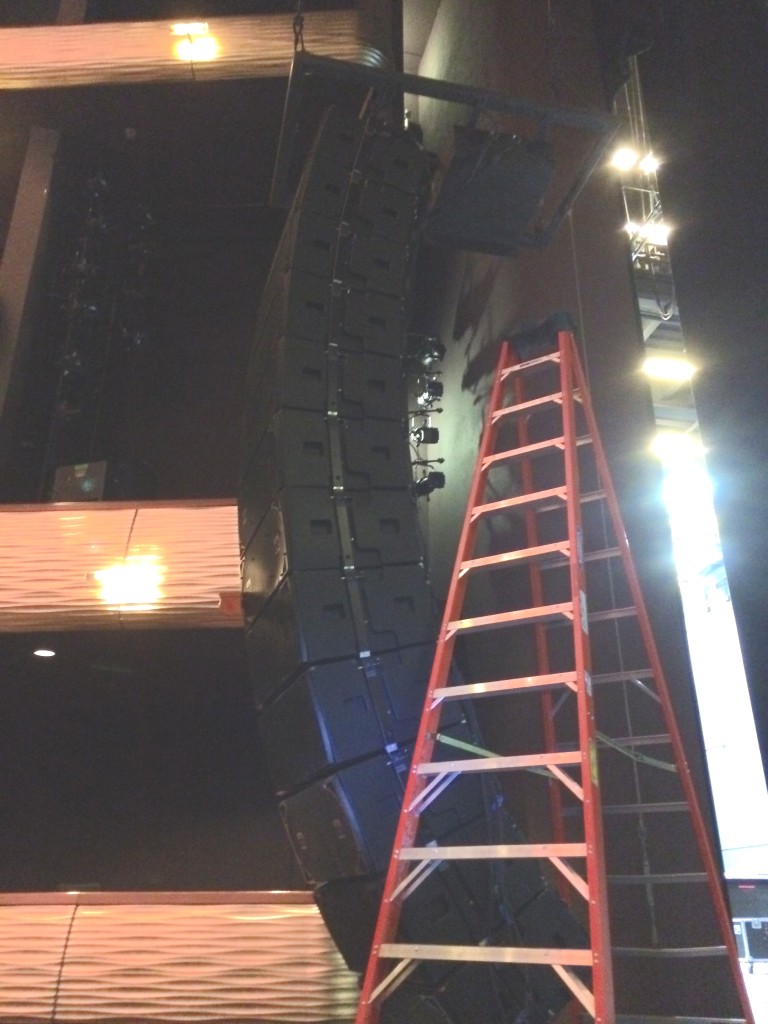
Once we had appropriate house staff in place, the main line arrays were dropped and the angles were adjusted to attempt to reach the upper balc without losing any coverage down front. This required changing the support point which mean that the entire array had to be disconnected from the support structure. Since a 12 box array weighs more than 2000 pounds, we removed all but 4 cabinets. Once we had the angles set as per Dave’s model, we began to add cabinets back until we had a complete array again.
The end result is and array that curves up at the top and down at the bottom where as before the array was more like a J which left the upper balcony poorly covered.
Once the main arrays were rehung and tuned, Dave tackled the front fill speakers and the upper balcony fills which cover the last (4) rows of seats.


