Essentials – 102
If you have completed the first two measurement experiments and fully understand the concepts and setup and are still ready to move forward, it’s time to gear up to making acoustic measurements.
LETS DO IT!
Step 3 – Purchase a omni measurement microphone. There are many many measurement mics available. Some or really expensive and some are inexpensive. Some are consistent and some are not. If you have the funds to get into a higher quality mic, do it. It’s a good investment. High quality inexpensive (relatively) measurement mics include the Earthworks M23 and ISEMcon 7150. Both are provided with correction files that when loaded into SMAART resolve any deviation from a flat response. Honestly you won’t need to deal with the calibration files if you buy a mic with a flat response to begin with. On the other hand, if you can only afford a low quality measurement mic, you will benefit from using the calibration file every time you measure something. A few things to consider when purchasing a measurement mic. Many of the available models are rebranded versions of the same mic. Consequently, you could be comparing the same mic to another mic that looks a bit different but is in fact the same mic built in the same factory. Some manufacturers charge $100 for it while others charge $250. Beware! Some inexpensive measurement mics are PIN 3 HOT which means that your measurements are inherently upside down. This can be easily fixed with a PIN2 / PIN3 swap adapter but it’s something to be aware of. One example of a PIN3 HOT mic is the Rational Acoustics RTA420. Another consideration is that there are different kinds of measurement mics. For our purposes the “FREE FIELD” mic is preferred. Another type is called a “DIFFUSE FIELD” mic which has to be aimed differently to provide a flat frequency response. The Rational Acoustics RTA420 is a diffuse field mic. With inexpensive mics, frequency response can vary greatly from mic to mic. If you can only afford a $100 measurement mic, think of it as a first step toward the bigger goal of having multiple higher quality mics. A $100 mic is still better than nothing but without some sort of frequency response chart for a specific mic, the mic could simply provide untrustworthy information. There are at least 4 levels of measurement mics from my perspective.
1. inexpensive wildcard (better than nothing) $100
2. inexpensive with a calibration file (even better than nothing)
3. high quality mic that is flat in frequency response and built for long term stability (the goal) $300 to $750
4. lab grade (not necessary for acoustic measurements) $1000+
If you need assistance making a decision about choosing a measurement mic, contact me.
There is simply too much important information to try to share on this website so if you’re still excited about the measurement concept and process and are ready to commit, it’s time to read THE book.
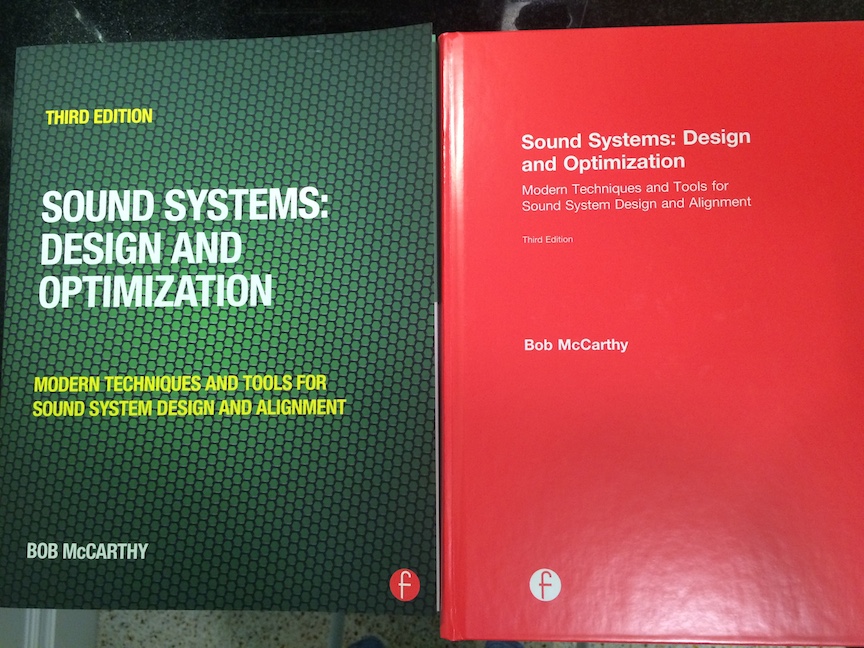
Step 4 – Buy and begin to read “Sound Systems – Design and Optimization 3rd Edition” by Bob McCarthy.

Considering how vital this book will be to anyone interested in system design and optimization, I have arranged for visitors to be able to buy the book directly from the publisher via a 20% discount code. If you do purchase from the publisher, I’d be curious to know what it ends up costing by the time you pay shipping charges. The discount code is “SSD20” and you will enter it at checkout.
Sound Systems – Design & Optimization 3rd Edition
A note from the publisher. “This offer cannot be used in conjunction with any other offer or discount and only applies to books purchased directly via Routledge.com”
Read the first 61 pages for free here:
Sound Systems – Design & Optimization 3rd Edition – chapter 1
If you want to purchase the book from Amazon:
“Sound Systems – Design & Optimization 3rd Edition”
Sound Systems – Design and Optimization (any edition) is not an easy read but it will be a reference for the rest of your audio measurement journey so even if you only understand parts of it initially, having it will be a good investment.
