How to measure and optimize your car stereo – part 1

IF a car stereo provides an AUX input, it’s possible to measure the car stereo and even optimize it. My first experiment will be on a 2005 Scion XA with an aftermarket Kenwood KDC-X494 receiver.

Kenwood KDC-X494 car stereo PDF manual

The specs for the Kenwood KDC-X494 states that is has (4) x 50watts in the amp section.

The car I will be doing the measurement on (the venue) is a 2005 Scion XA.

Kenwood KDC-X494

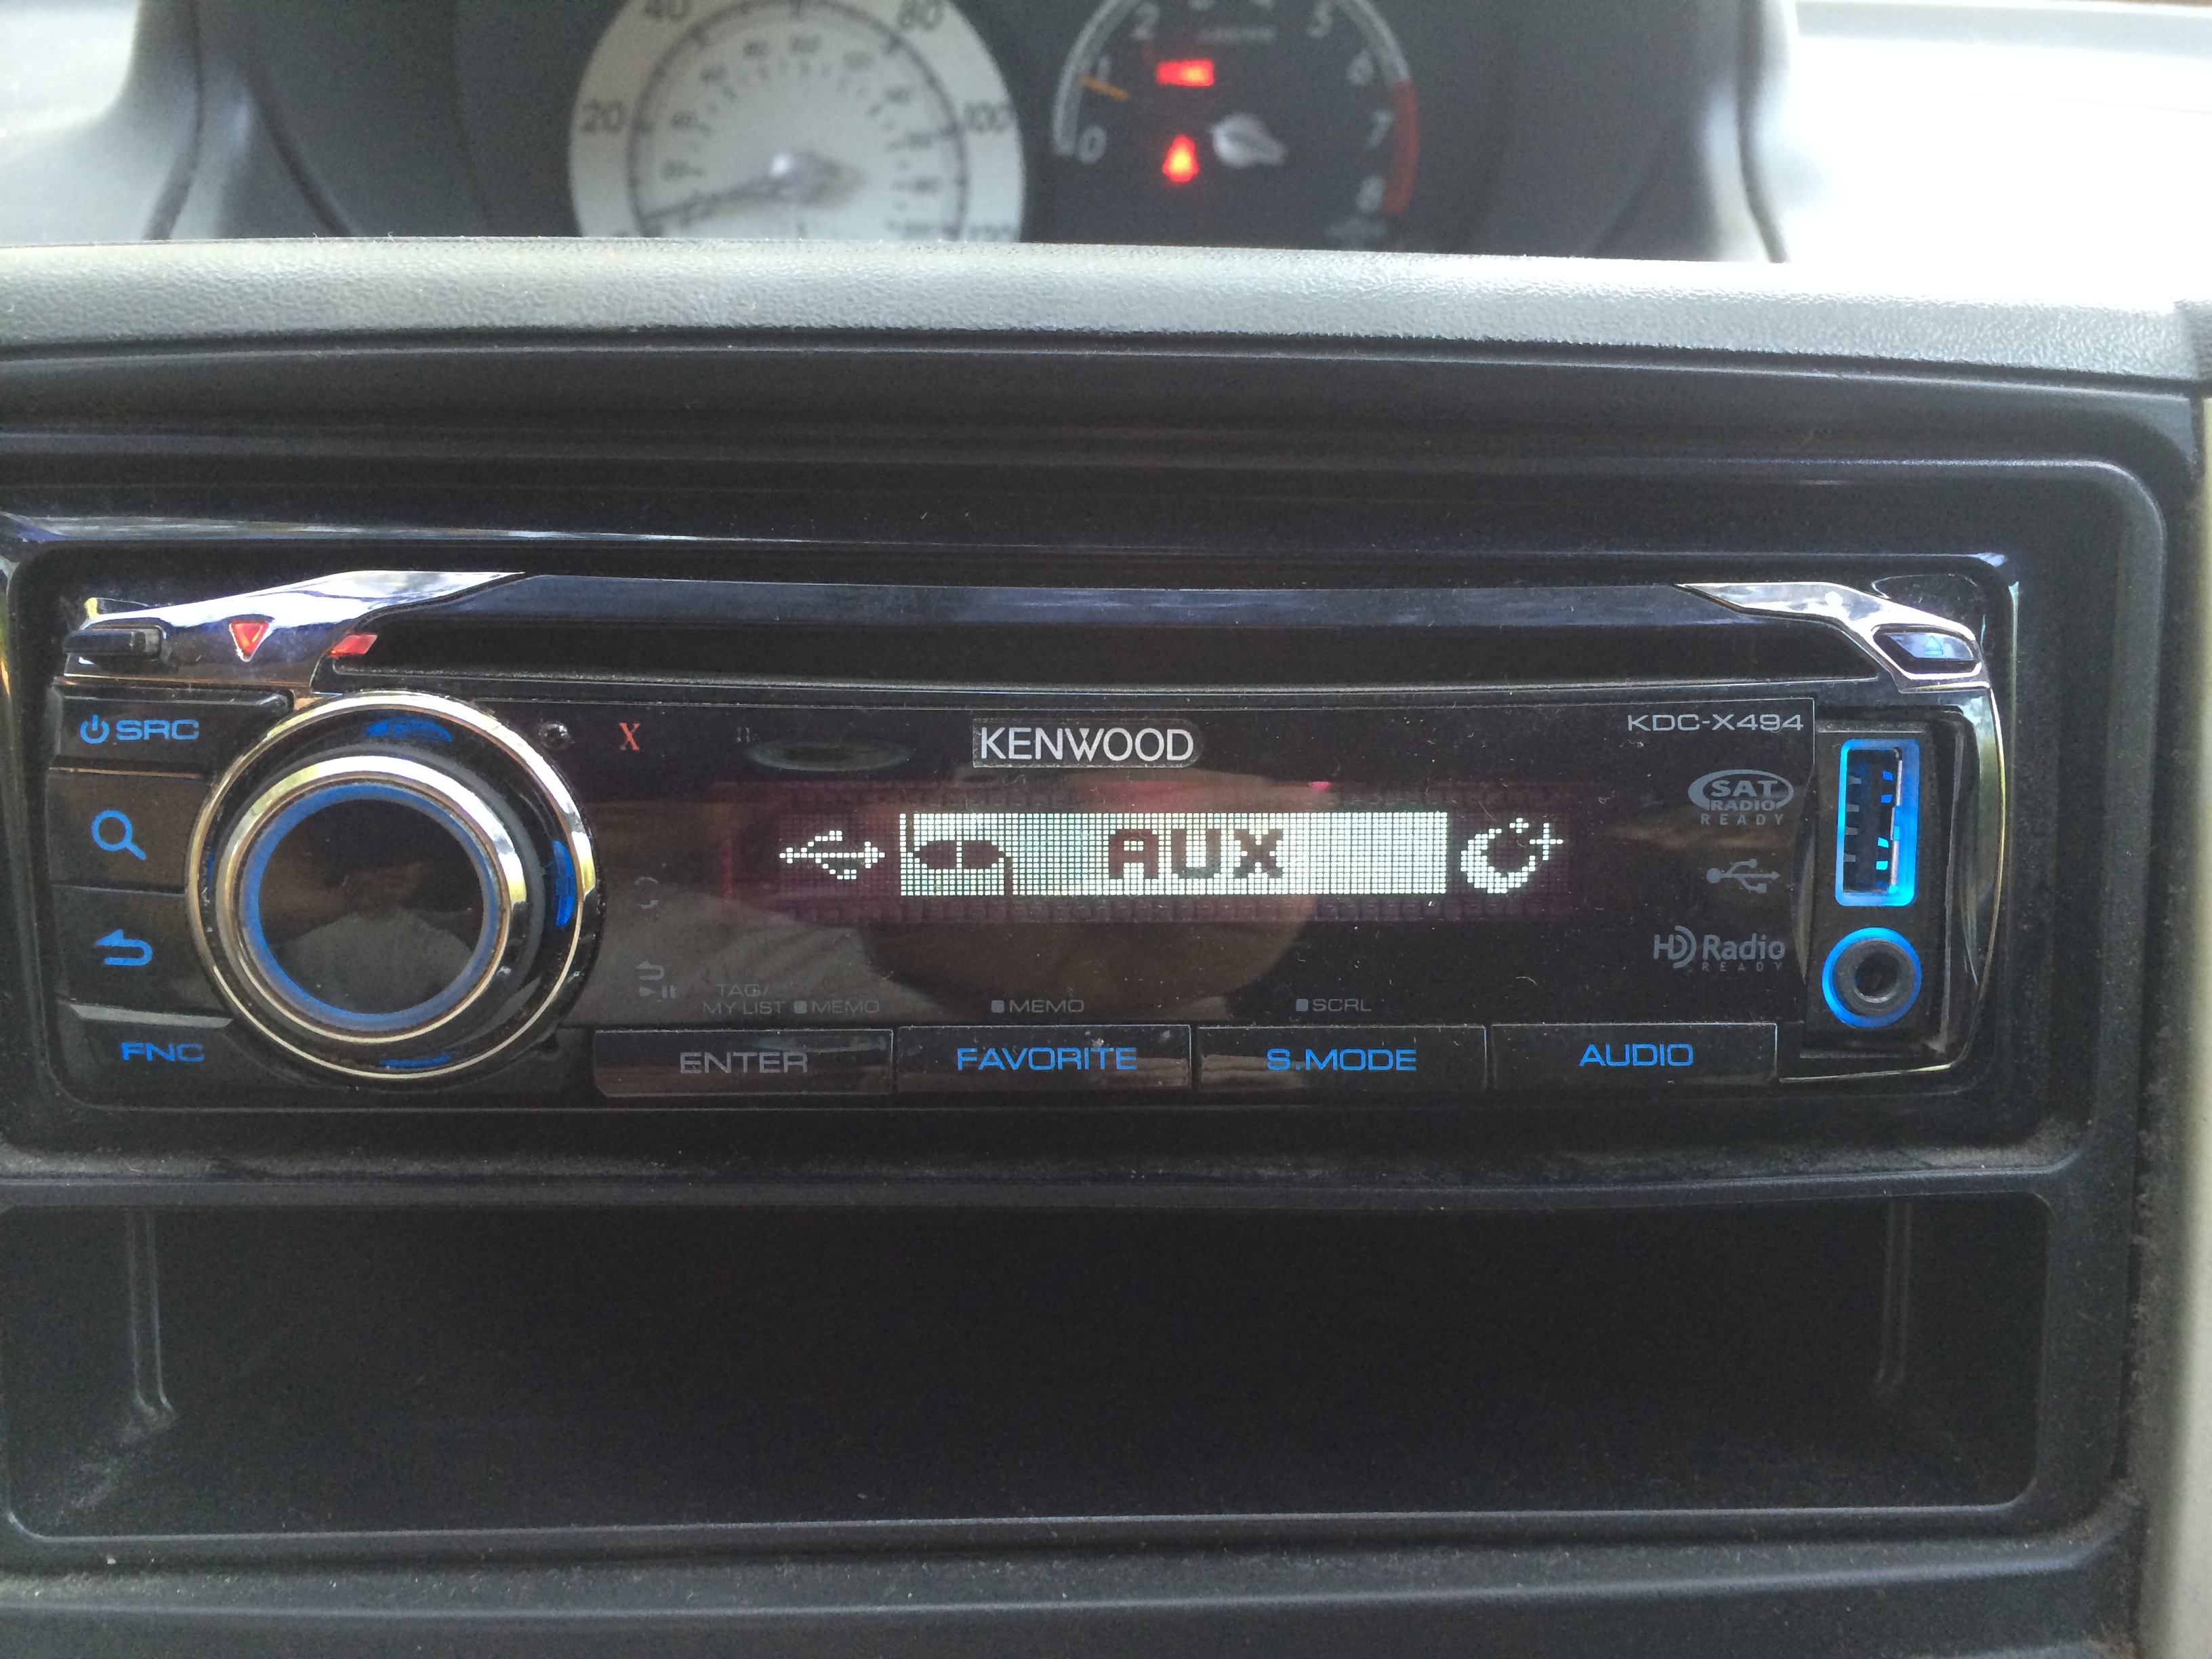
In order to make useful measurements, we need to be able to get a signal into the car stereo that we are generating from our measurement rig. In this case, that is what the AUX input on the car stereo is for. We’ll inject pink noise into the car stereo, use our measurement mic to measure the result and via the onboard DSP, adjust the EQ settings until we have a car stereo that is as flat as possible.

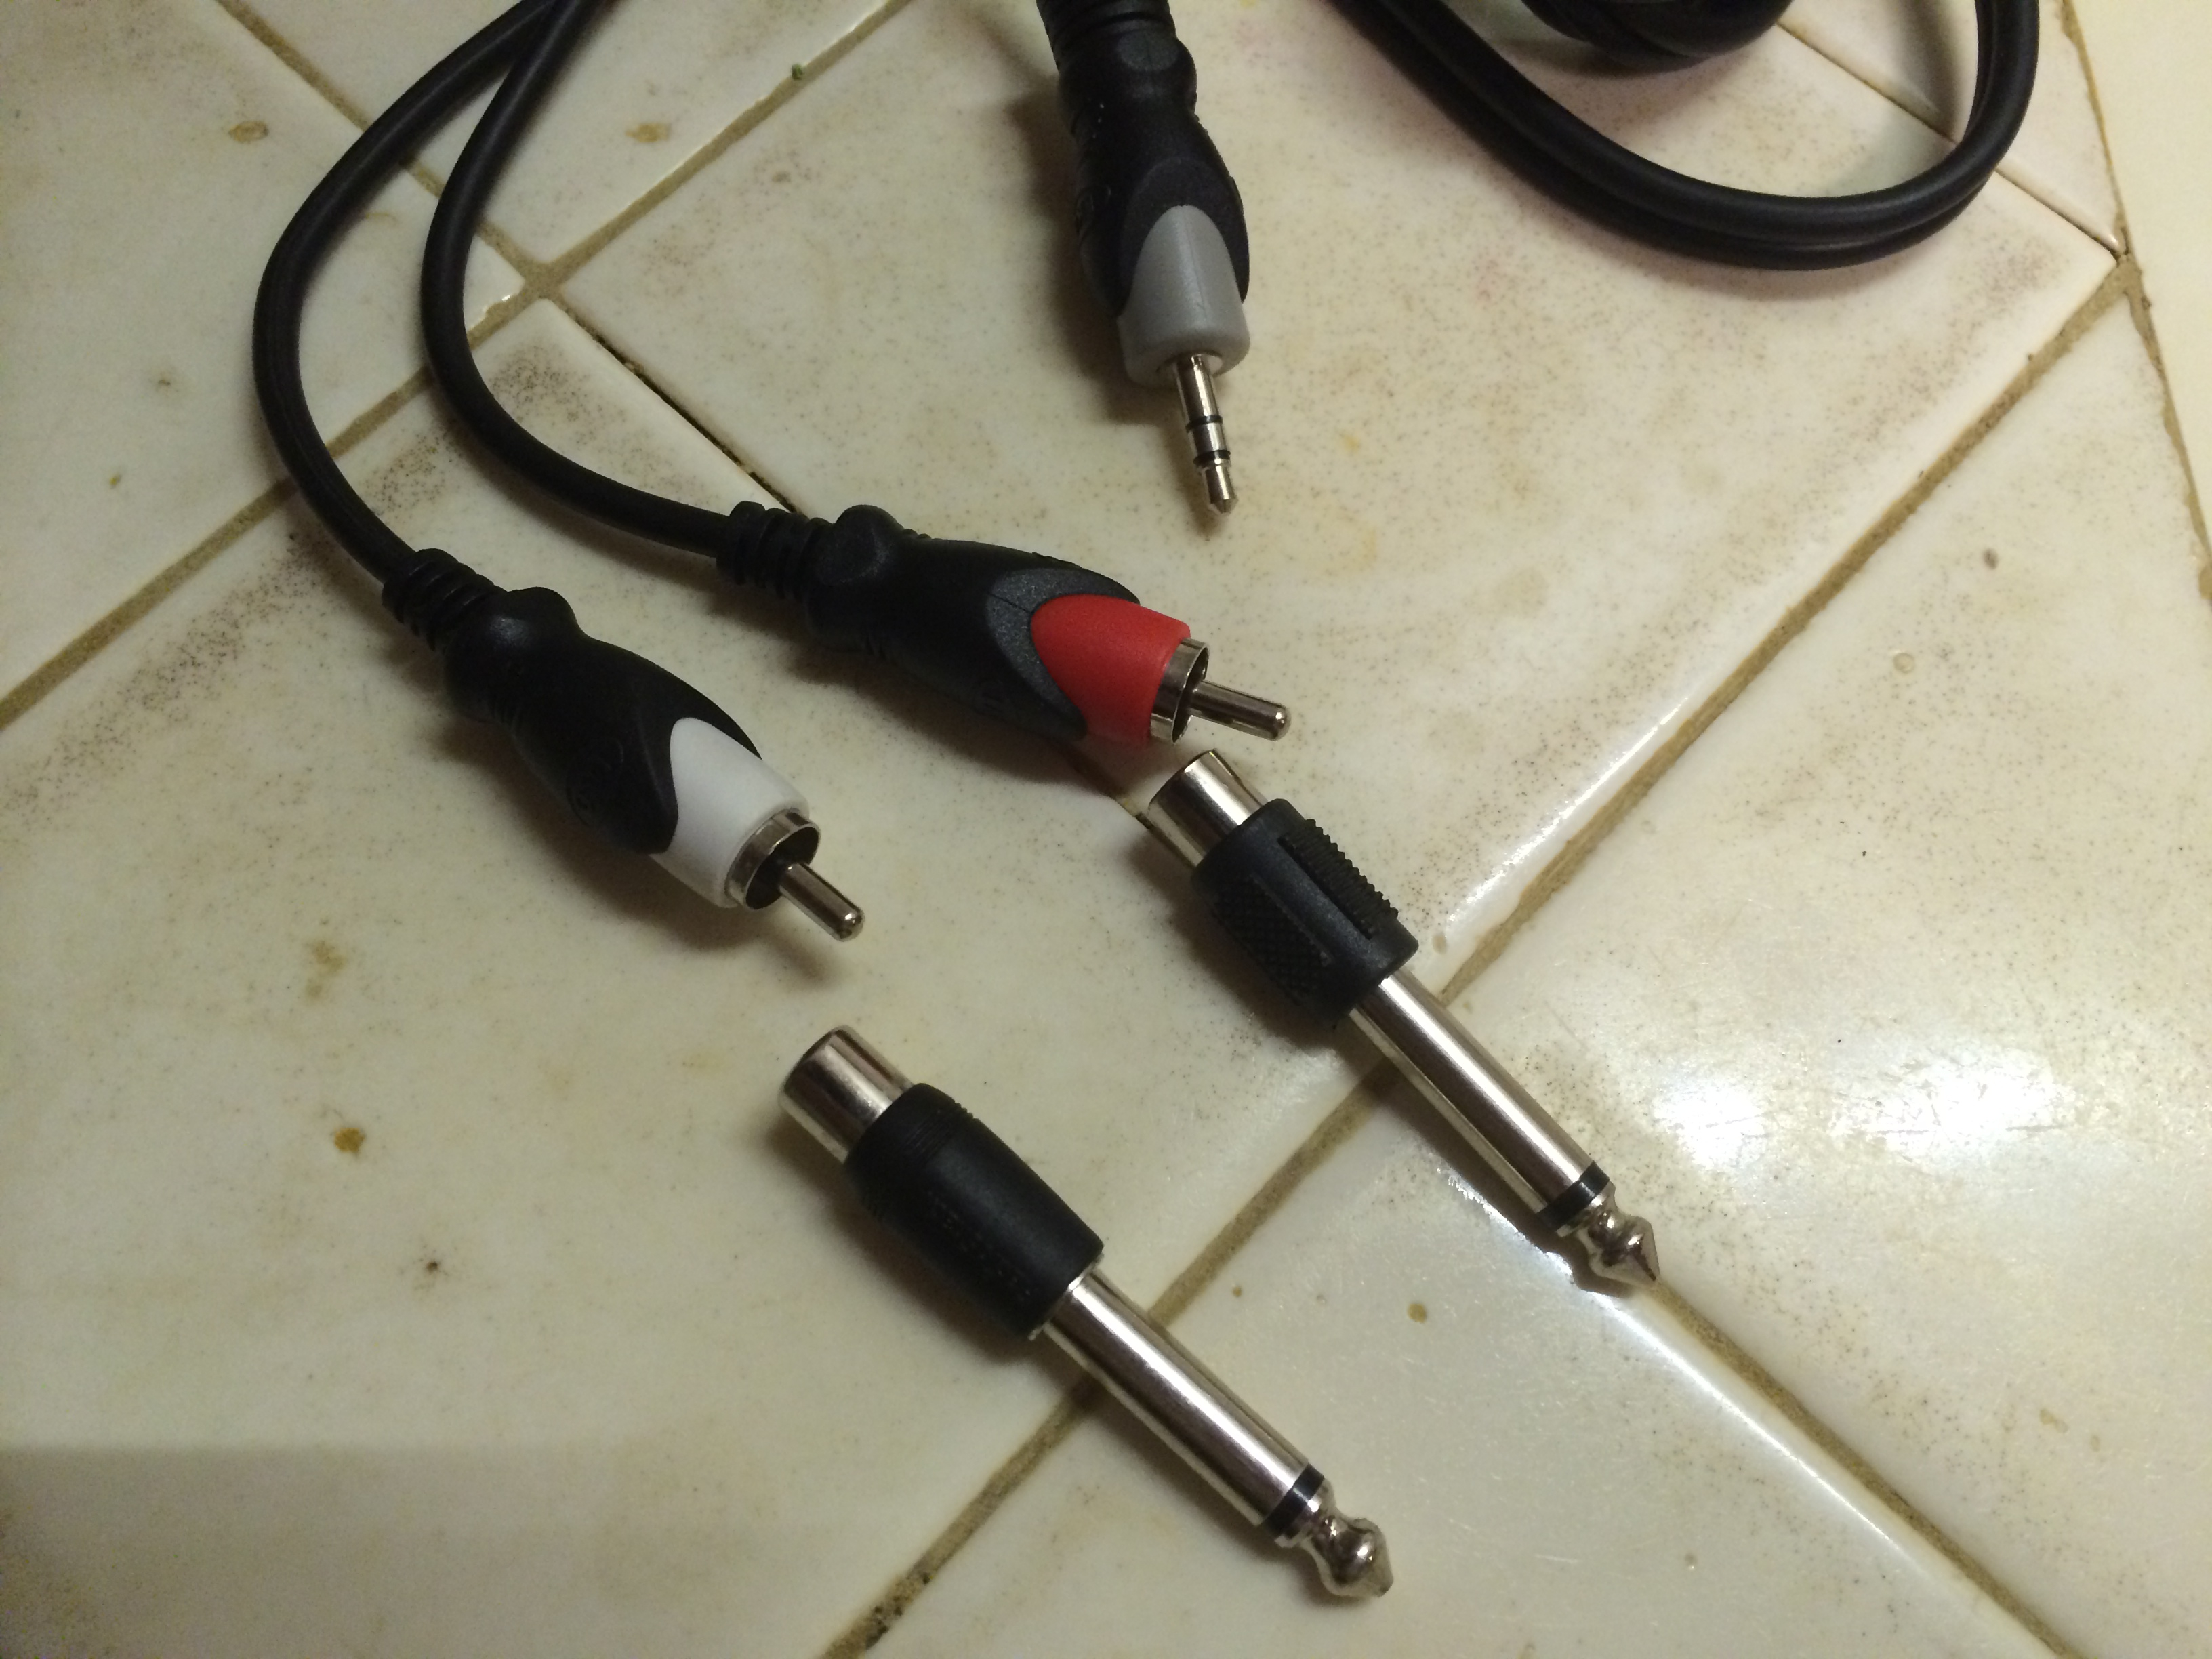
The AUX input I’ve seen on car stereos is a 3.5mm TRS female jack (also called 1/8″ TRS or 1/8″ stereo jack). We will need a 1/8″ stereo plug that adapts to something that can mate to the outputs of our audio interface. It’s fairly common to convert 1/8″ stereo to dual RCA on the other end. From there we can add RCA female to male 1/4″ and plug in to the outputs of an audio interface. Note that by doing this, we are “unbalanced” the signal but in this case is shouldn’t matter. Here is a photo of the necessary cable and adapters.

1/8" stereo to dual RCA with RCA to 1/4" adapters

The car stereo I am working with is a Kenwood KDC-X494. The unit has a surprising amount of DSP for EQing the system. Here are the specs for the DSP EQ section.

Kenwood KDC-X494 car stereo audio control settings

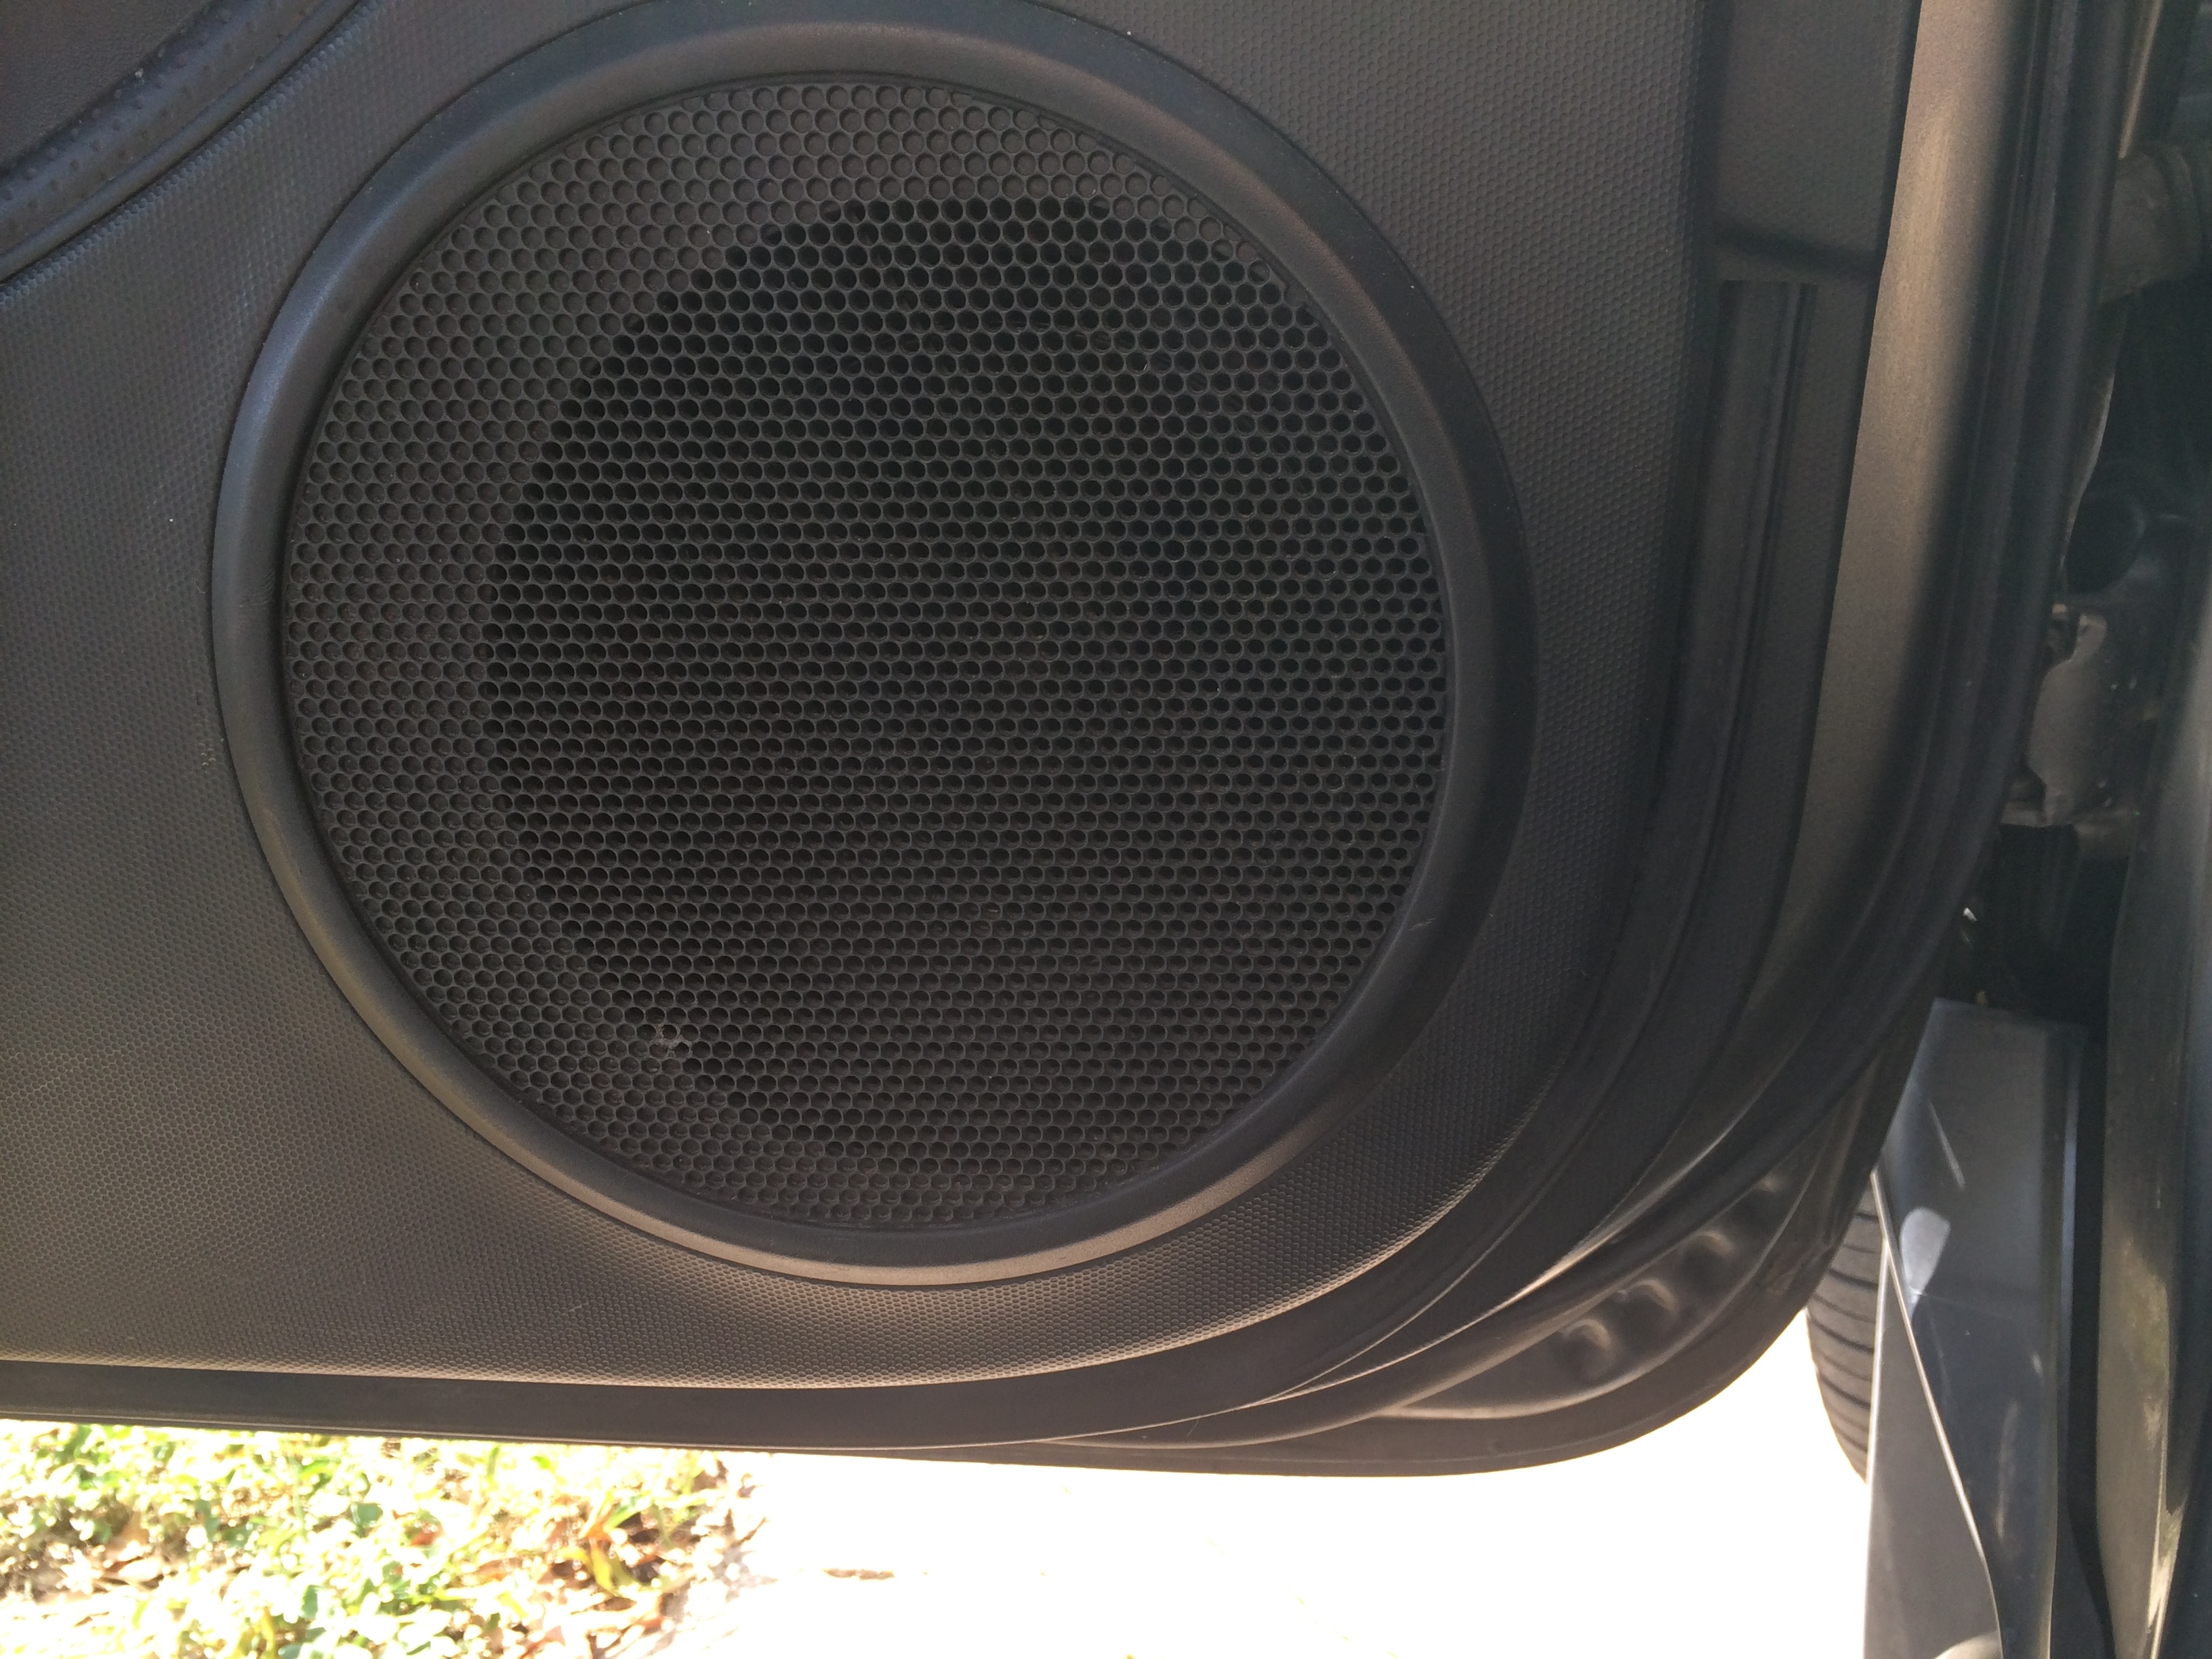
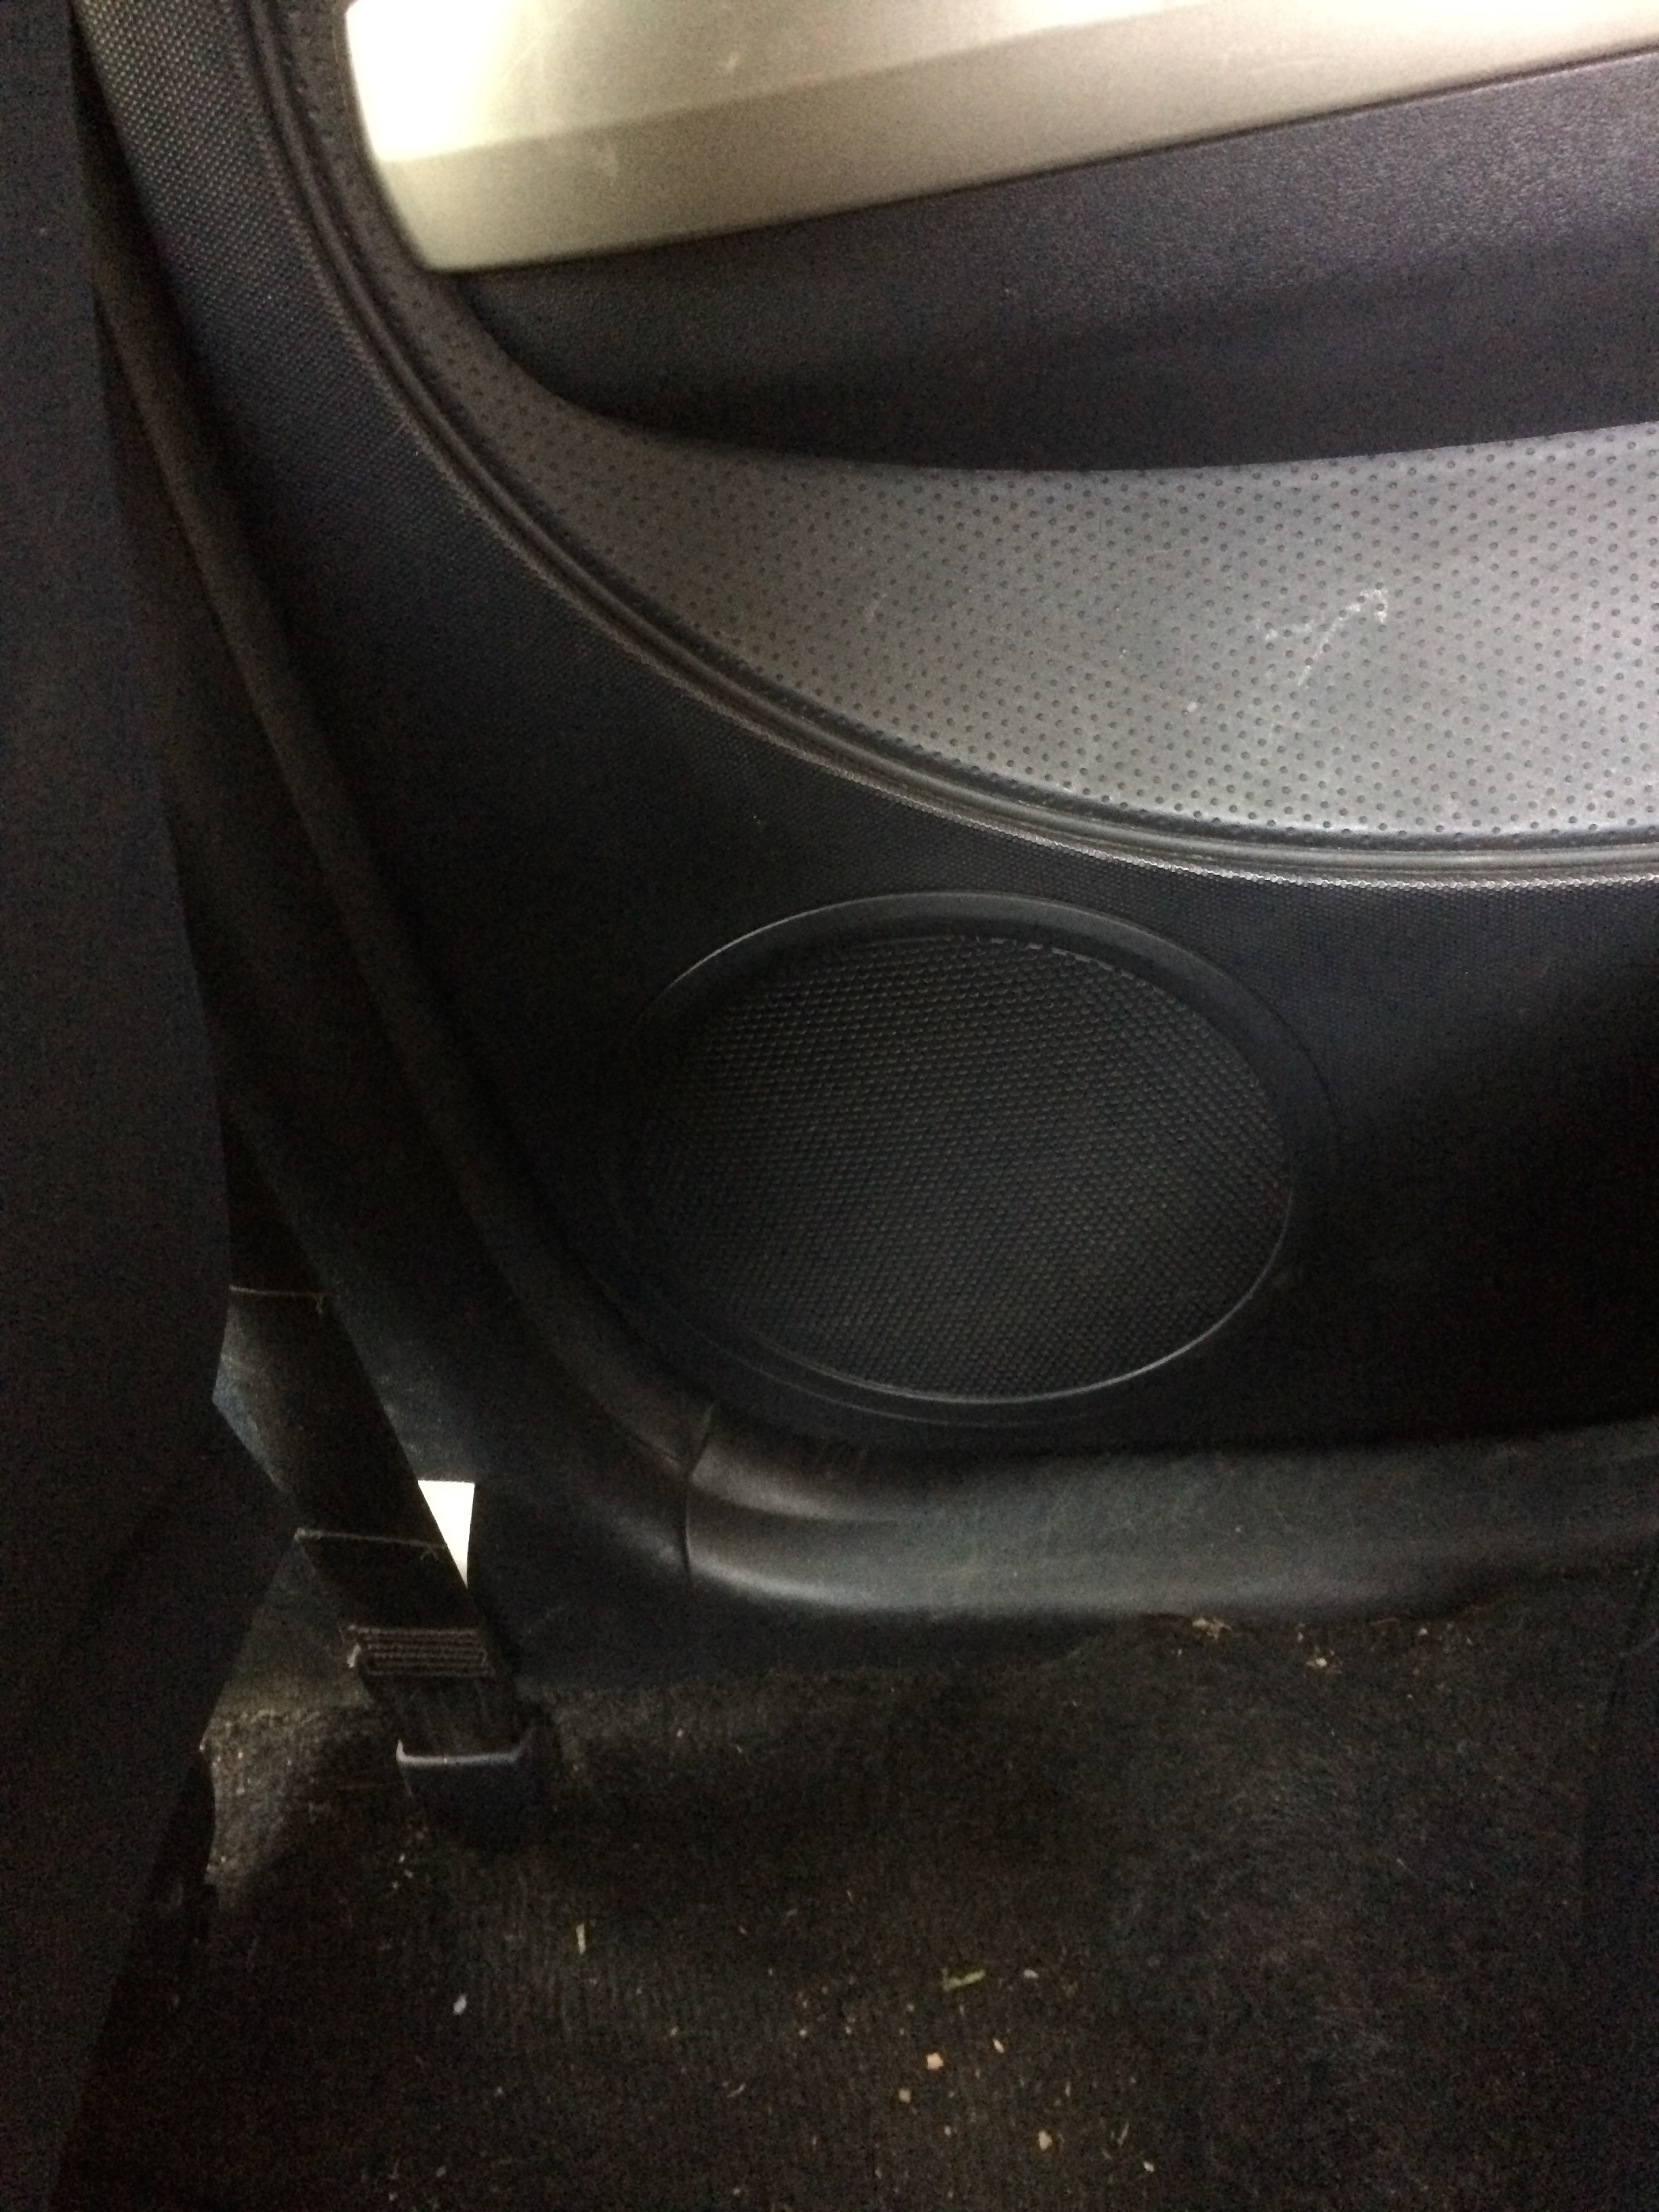
Part of optimizing a sound system (in this case a car stereo) is to know what the various components in the system are, how they function and how to manage them. Consequently, today I did some recon on what speakers are installed and where in the vehicle. There are full range speakers mounted in all (4) doors located near the bottom panel.

Scion XA woofer front

Scion XA woofer rear

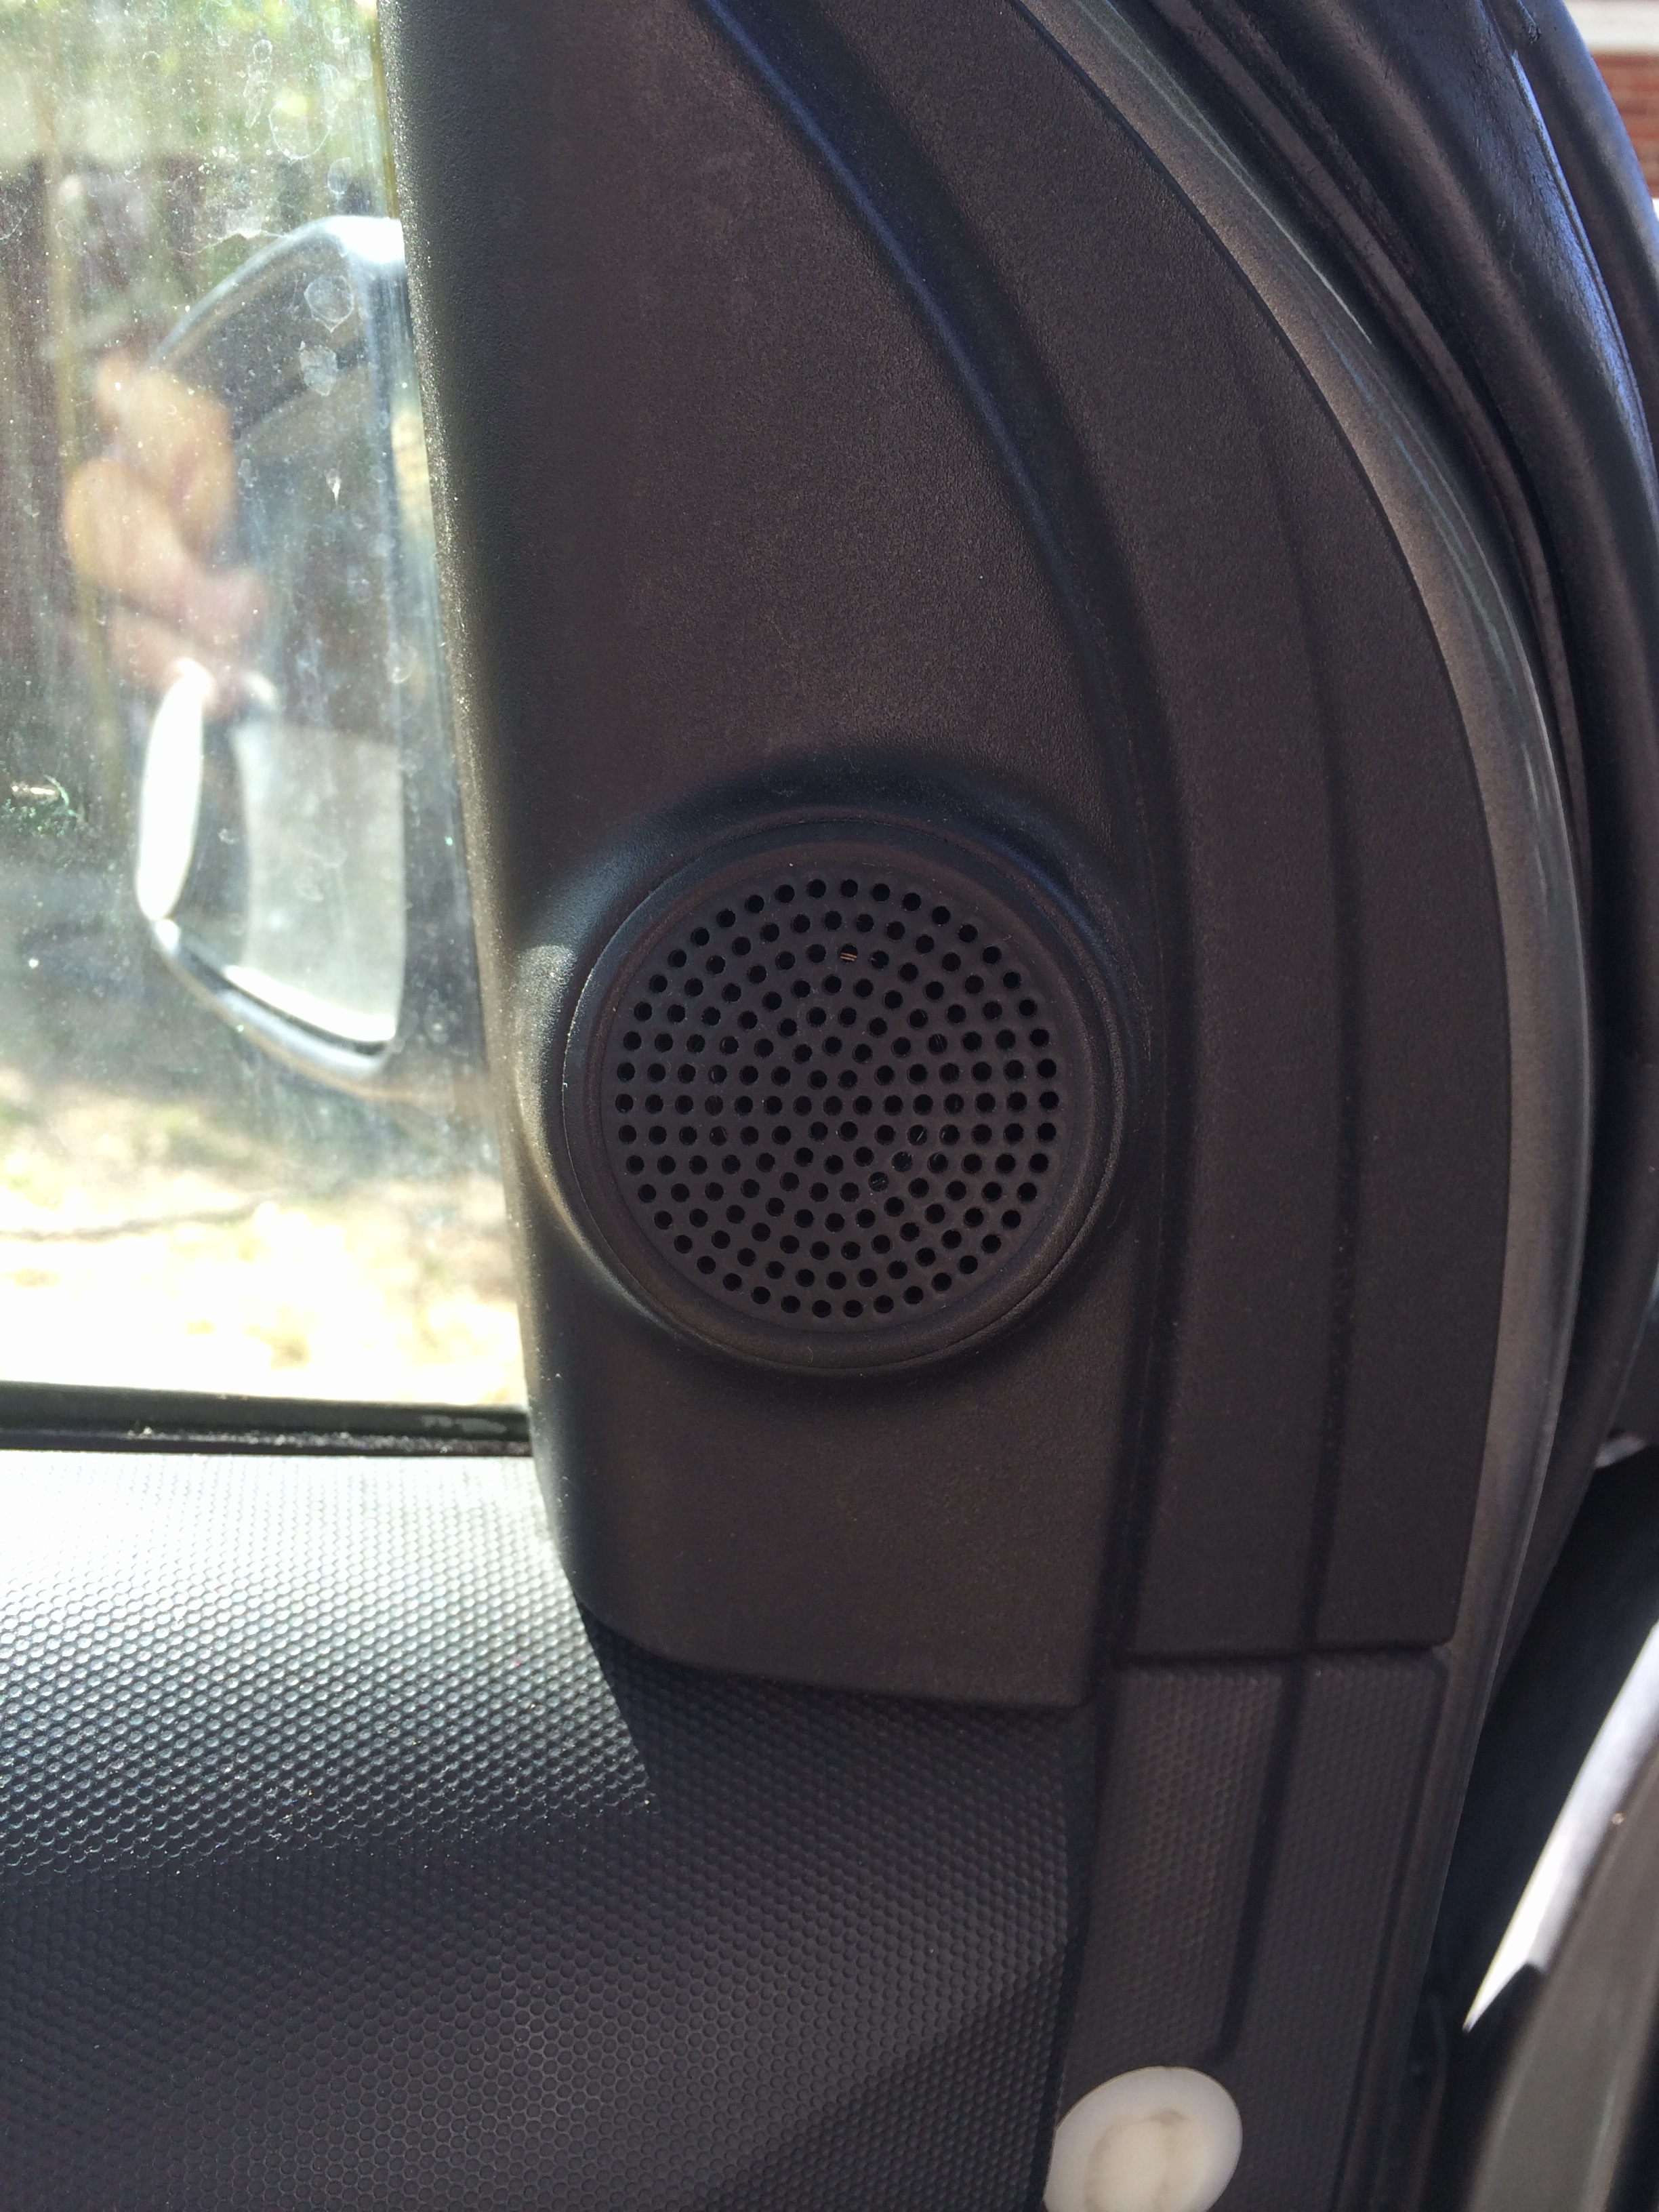
There are (2) tweeters mounted on the front doors near the dash board.

Scion XA tweeter

Now that we have gathered the basic information needed, we can begin to measure and then optimize the car stereo. Visit PART 2 for the results…

Doc Severinsen’s Sennheiser MD441


Tomorrow night, I’ll be mixing FOH sound for Doc Severinsen and the Fort Worth Symphony Orchestra. Doc brought his own personal Sennheiser MD441U for this show (his preferred trumpet mic).

square_louped_md_441-u_01_sq_vocal_sennheiser

Sennheiser – MD441U
Sennheiser – MD441U PDF manual

For this show he actually needs a second trumpet mic but the house doesn’t own an MD441U & neither do I. ???

I volunteered to measure Doc’s MD441U in the morning and process one of my Earthworks SR30 to have the same frequency response for his second trumpet position. While this is not an ideal solution for many reasons (some technical and some emotional), I think we can get close enough to make him happy. He’s a very warm and friendly fellow in case you’re wondering. I spoke into his MD441U and my first reaction was how bass heavy it was. This might be the reason why he likes the sound. Because it “warms” up his trumpet. We’ll know soon…

How does one match one mic to another? The same we would match the frequency response of one speaker to another but with two mics and one speaker instead of one mic and two speakers. We will need our measurement rig (laptop, audio interface & FFT software), a sound source with the ability to cover the basic frequencies the MD441U is able to reproduce, Doc’s mic & my Earthworks SR30. This will be a very simple procedure.

Send pink noise through speaker & measure with MD441U
Save measurement trace
Replace MD441U with SR30 and match levels
Compare FR of MD441U trace with SR30 trace
Perform complimentary / corrective EQ on the SR30 to have the same frequency response of the MD441U.
Save EQ trace and paste on the second input channel strip
Bypass EQ on first input channel strip and put the MD441U back where it was.

Photos to come…

Shure SM57 versus SM58

I was looking for the frequency response of both the Shure SM57 and SM58 to add to a growing PDF library of mic specs and saw this forum thread comparing the two mics.

Shure – SM57 versus SM58

QUOTE:

“The SM58 and the SM57 share the same mic element, the Unidyne III. The only difference between the these two models is the grill design.

The grill design does affect the high frequency response, particularly above 8,000 Hz.

The SM57 grill design allows more proximity effect because the mic diaphragm can be placed closer to the sound source. Proximity effect increases each time the distance from the mic to the source is halved. When a mic is placed very close, it is quite easy to halve the distance: 1 inch to 1/2 inch; 1/2 inch to 1/4 inch; etc. Remove the ball grill from the SM58 and it will be more similar to the SM57 in its low frequency response.

Any other differences you hear between the SM57 and SM58 are likely to be subjective (psycho-acoustic) or due to slight manufacturing differences due to part tolerance. ”

END QUOTE:

This should be something easy to see when measuring an SM57 against an SM58 with it’s ball windscreen removed. More soon…

National Cowgirl Museum – Wild West gallery

The National Cowgirl Museum recently updated the main gallery on the first floor and in doing so has a new sound system. The system is made up of

Peavey Digitool MX32 DSP

QSC CX168 – 8 channel power amplifier

There are (10) miniature speakers (models to come) located through out the exhibit space.

Innovox – MLA-16 micro line array

& (5) Micro subs

Innovox – Micro Sub 6 IW (in wall)

(5) of the speakers are reproducing the voice of “Annie Oakley”. The rest of the speakers are reproducing a soundscape that accompanies black and white footage of the Wild West show captured at the end of the 1800s and early part of the 1900s. In a museum, sound is always a concern. Rarely are museums acoustically friendly to amplified sound. In the case of the new gallery, the air handler system has already pushed the noise floor up high enough where I am concerned that even with speakers that are aimed optimally and processed correctly, it’s still going to be difficult to find a balance between too loud and too soft. The noise floor is just too high. I noticed that today, if you’re standing at one of the Annie Oakley hologram exhibits and someone is talking, it’s difficult to hear the dialogue. If we set the dialogue to be loud enough to be heard over talking, it will likely seem too loud when no one is talking. If we set it when no one is talking it will likely be to quiet when someone is talking. Consequently, speaker placement and aim is all the more critical. Today I met with the designer to discuss moving the speakers down lower and more on the same plane as the visual element. AS IS, the audio is already coming from almost directly overhead which is a bit disconcerting when you are watching one of the Annie Oakley holograms speak. Also some of the speakers have mounting brackets that don’t allow for proper aim. I went to the museum this evening to swap out the 1.5 inch “L” mounts for 2 inch “L” mounts. Now the speakers are completely aim-able.

Each of the Annie Oakley speakers is in a different acoustic space. They’re all mounted to a wall but (2) are fairly clear of nearby objects, (2) are fairly close to glass display cases & (1) is mounted on the wall up against the ceiling. Logic would suggest that the one mounted next to (2) boundaries will have more inherent low / low mid content which it does.

The long term goal is to relocate the speakers to be lower on the walls. With a pending grand opening on Thursday, to make sure that all the speakers are aimed correctly to avoid spilling into other parts of the space. Also each speaker should be processed (EQ) to be flat so there is not a build up of low / low mid energy which is omni directional. The end result is that Annie Oakley’s voice sounds natural and the soundscape is a bit subdued in the vocal range to leave room for hearing the dialogue. photos and traces to follow.

Cardioid explained

I was just revisiting microphone polar patterns and thought I would share. In live audio reinforcement, a cardioid mic has and will continue to be king. For audio measurement purposes, an omni directional mic is necessary due to the way it mimics the human hearing response. What does cardioid mean?

WIKI – Cardioid

QUOTE:

A cardioid (from the Greek καρδία “heart”) is a plane curve traced by a point on the perimeter of a circle that is rolling around a fixed circle of the same radius. It is therefore a type of limaçon and can also be defined as an epicycloid having a single cusp. It is also a type of sinusoidal spiral, and an inverse curve of the parabola with the focus as the center of inversion.[1]

The name was coined by de Castillon in 1741[2] but had been the subject of study decades beforehand.[3] Named for its heart-like form, it is shaped more like the outline of the cross section of a round apple without the stalk.

END QUOTE:

In case you chose not to visit the wiki article, at least click on the image below and watch how the cardioid shape is traced…

Cardiod_animation

Can you say spirograph???

WIKI – Spirograph

With regards to microphone polar patterns we have a few basic polar shapes to choose from.

Omni directional
Cardioid.
Bi Directional / Figure 8

We get different polar patterns landing in between those basic polar shapes by combining them.

WIKI – Microphone

Quote:
A cardioid microphone is effectively a superposition of an omnidirectional and a figure-8 microphone; for sound waves coming from the back, the negative signal from the figure-8 cancels the positive signal from the omnidirectional element, whereas for sound waves coming from the front, the two add to each other. A hyper-cardioid microphone is similar, but with a slightly larger figure-8 contribution leading to a tighter area of front sensitivity and a smaller lobe of rear sensitivity. A super-cardioid microphone is similar to a hyper-cardioid, except there is more front pickup and less rear pickup. While any pattern between omni and figure 8 is possible by adjusting their mix, common definitions state that a hypercardioid is produced by combining them at a 3:1 ratio, producing nulls at 109.5°, while supercardioid is produced with a 5:3 ratio, with nulls at 126.9°
END QUOTE:

I think it helps to see a graphic representation of the various polar patterns in order to understand why you would use one type of mic over another.

Polar_pattern_omnidirectional

1024px-Polar_pattern_subcardioid

1024px-Polar_pattern_cardioid

1024px-Polar_pattern_supercardioid

1024px-Polar_pattern_hypercardioid

1024px-Polar_pattern_figure_eight

1024px-Polar_pattern_directional

Texas Ballet Theater @ Winspear Opera House – Peter & The Wolf

During the Dracula production, we have some student shows performing Peter and The Wolf. I decided to use the main PA (Renkus Heinz) since the system is going through some changes and I thought it would be good to make sure it works before we leave the building (while there is still time to fix it if it doesn’t).

Before we last Sunday afternoon after Dracula, the house crew brought the main PA back in to show position. All the Renkus Heinz systems were fed signal via COBRANET until Dave Lawler & Craig Doubet came in. Now all signaling is done via analog lines. COBRANET is only being used to control the speakers via RHAON. So I was the first person to hear the main PA work since the DSP units were swapped out (BIAMP AUDIA for BSS LONDON BLU 160). The good news is that it all works. The bad news is that the gain structure of the main PA is way off. I had to turn my main feed down roughly 32db to get back to where I am with the smaller Iconyx PA. Yikes! Today after the last student performance, Craig and I compared the Iconyx level with the main PA level and adjusted it back -20. In order to make sure I wasn’t guessing I placed a mic at the rear of the house (before the balcony) and took measurements of the HR Iconyx. Then the HR main array. No guess work. Craig adjusted so they are the same and I was able to return my Qlab channel back to unity. I’ll post traces when I’m back in the venue tomorrow. How did I ever get by without a measurement rig???

Texas Ballet Theater @ Winspear Opera House – Dracula

I’m back at the Winspear Opera House with Texas Ballet Theater for Ben Stevenson’s production of “Dracula”. This is a first in many way. It’s the first production Texas Ballet Theater has done with an orchestra in the Winspear pit. It’s also the first time Texas Ballet Theater has performed with the Dallas Symphony.

The sound system is in the process of being upgraded by Dave Lawler and Craig Doubet. The same team that upgraded & now maintains Bass Performance Hall’s sound system in Fort Worth.
docktrdaveaudio.com
Craig is currently rewiring the racks in the basement. Previously all patching was done in the basement and getting there and back is a 10+ minute round trip so the tie line patching has been moved into the sound booth. The original main system DSP (Biamp Audia) has now been replaced with BSS London BLU-160 units. In order to make sure work could be done but the Dracula production wouldn’t be affected, we coordinated what I needed in advance so only the systems that are required for my production were replaced first.
For Dracula I need over stage monitors for the dancers which is a simple tie line feed. I also needed the existing Renkus Heinz Iconyx main PA for preshow announcements and tech rehearsals without the orchestra. The lobby and backstage paging systems have been left alone since they must function through out the production.

I have to get ready for a tech rehearsal with QLab playback but I’ll post more information soon.